Qlik Sense Desktop
Elastic Cloud Serverless projects are autoscaled environments, fully managed by Elastic and available on Elastic Cloud. Availability This functionality is generally available and ready for production usage. Serverless interfaces and procedures might differ from classic Elastic Stack deployments. The Elastic Stack includes Elastic's core products such as Elasticsearch, Kibana, Logstash, and Beats. Availability This functionality is generally available and ready for production usage. Unless stated otherwise on the page, this functionality is available when your Elastic Stack is deployed on Elastic Cloud Hosted, Elastic Cloud Enterprise, Elastic Cloud on Kubernetes, and self-managed environments. This documentation corresponds to the latest patch available for each minor version. If you're not using the latest patch, check the release notes for changes.
Serverless
Generally available
Stack
Generally available
You can use the Elasticsearch ODBC driver to access Elasticsearch data from Qlik Sense Desktop.
Elastic does not endorse, promote or provide support for this application; for native Elasticsearch integration in this product, reach out to its vendor.
- Qlik Sense Desktop November 2018 or higher. You must have a Qlik account to download it.
- Elasticsearch SQL ODBC driver
- A preconfigured User or System DSN (see Configuration section on how to configure a DSN).
To use the Elasticsearch SQL ODBC Driver to load data into Qlik Sense Desktop perform the following steps in sequence.
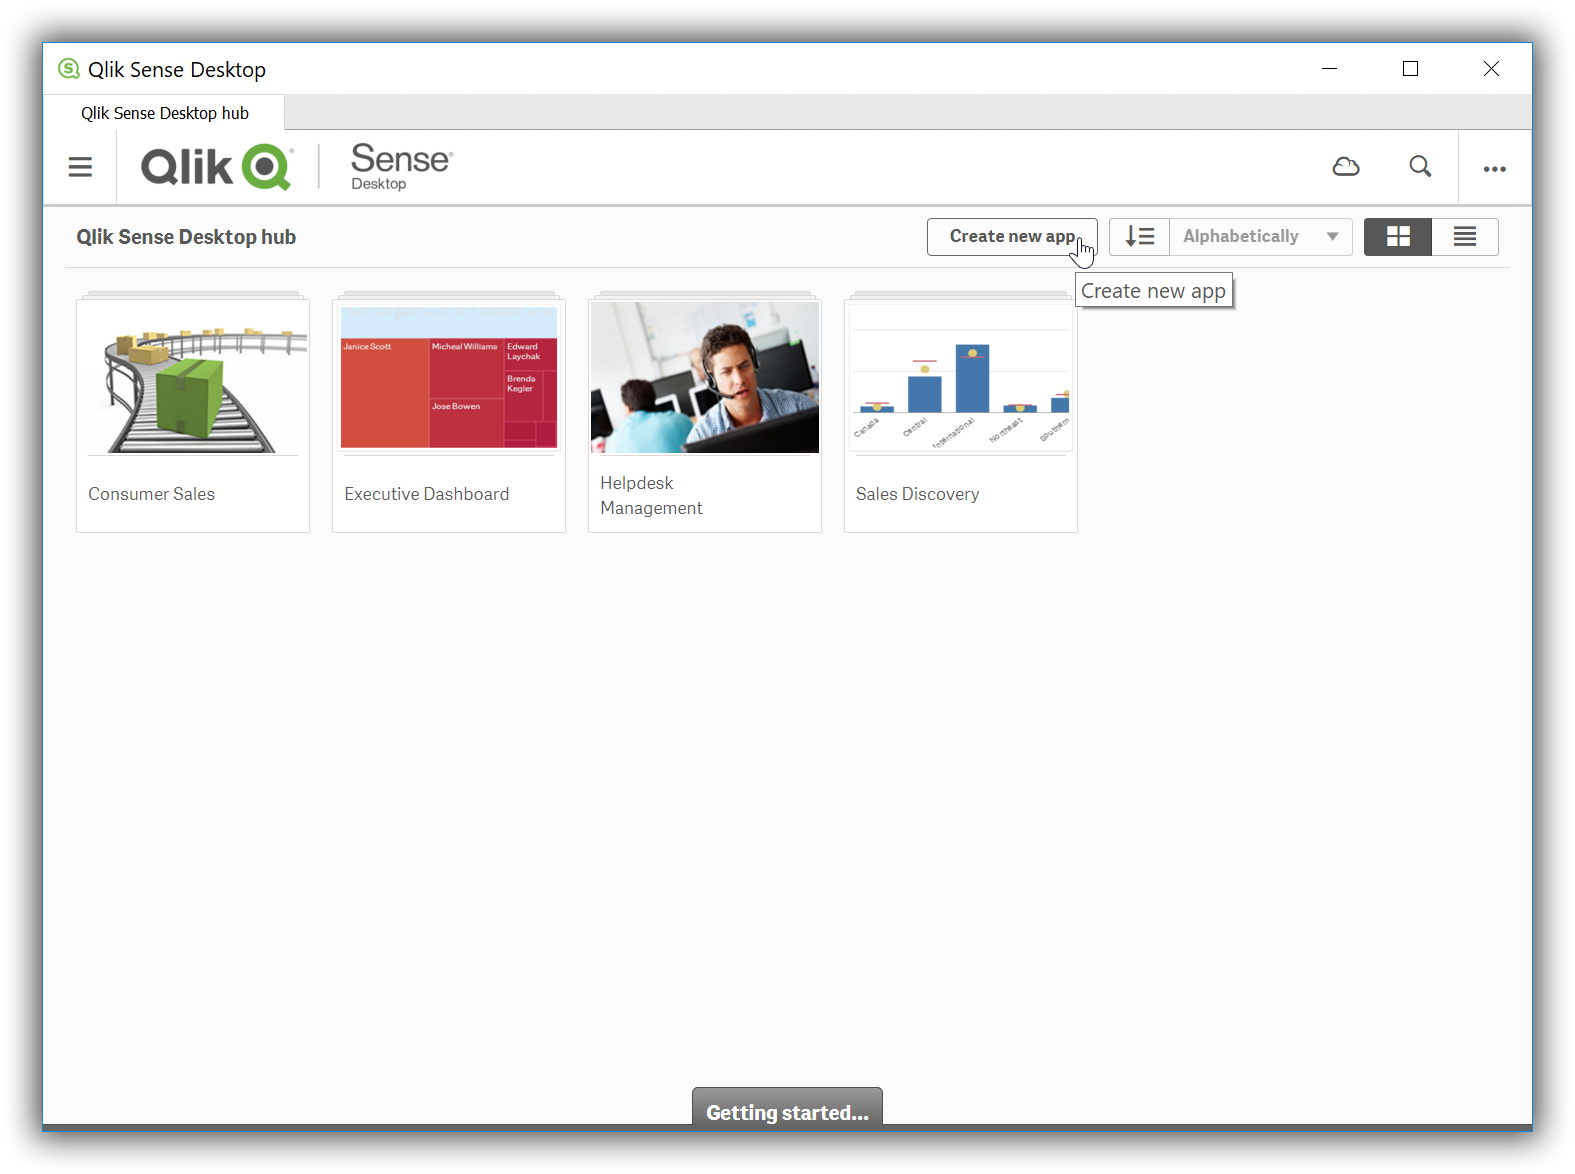
Create new app
Once the application is launched, you’ll first need to click on the Create new app button:
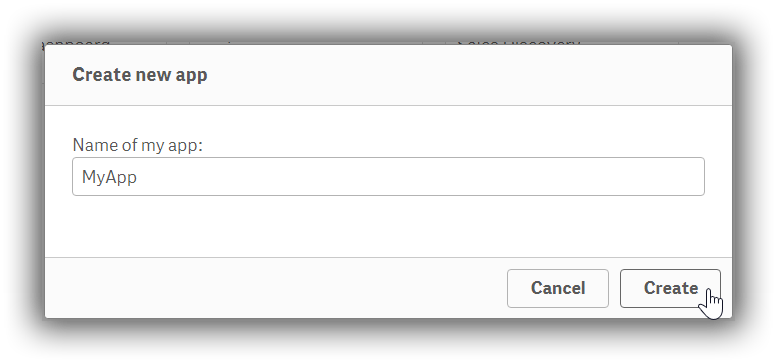
Name app
…then give it a name,
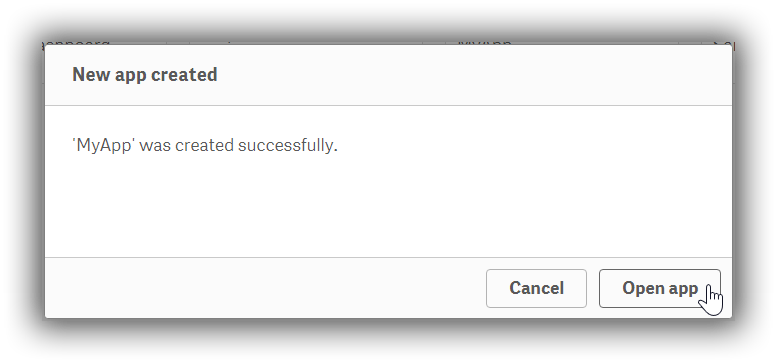
Open app
…and then open it:
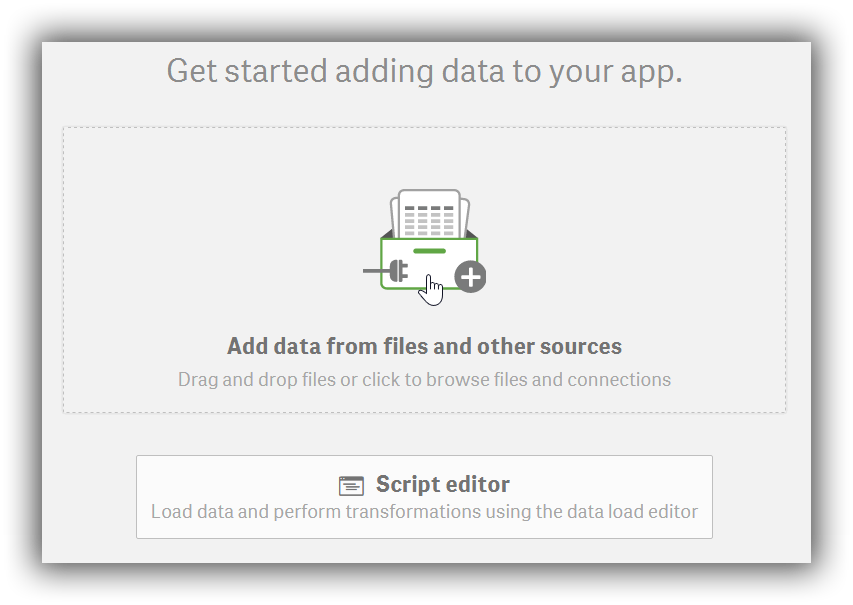
Add data to your app
Start configuring the source to load data from in the newly created app:
Load from ODBC
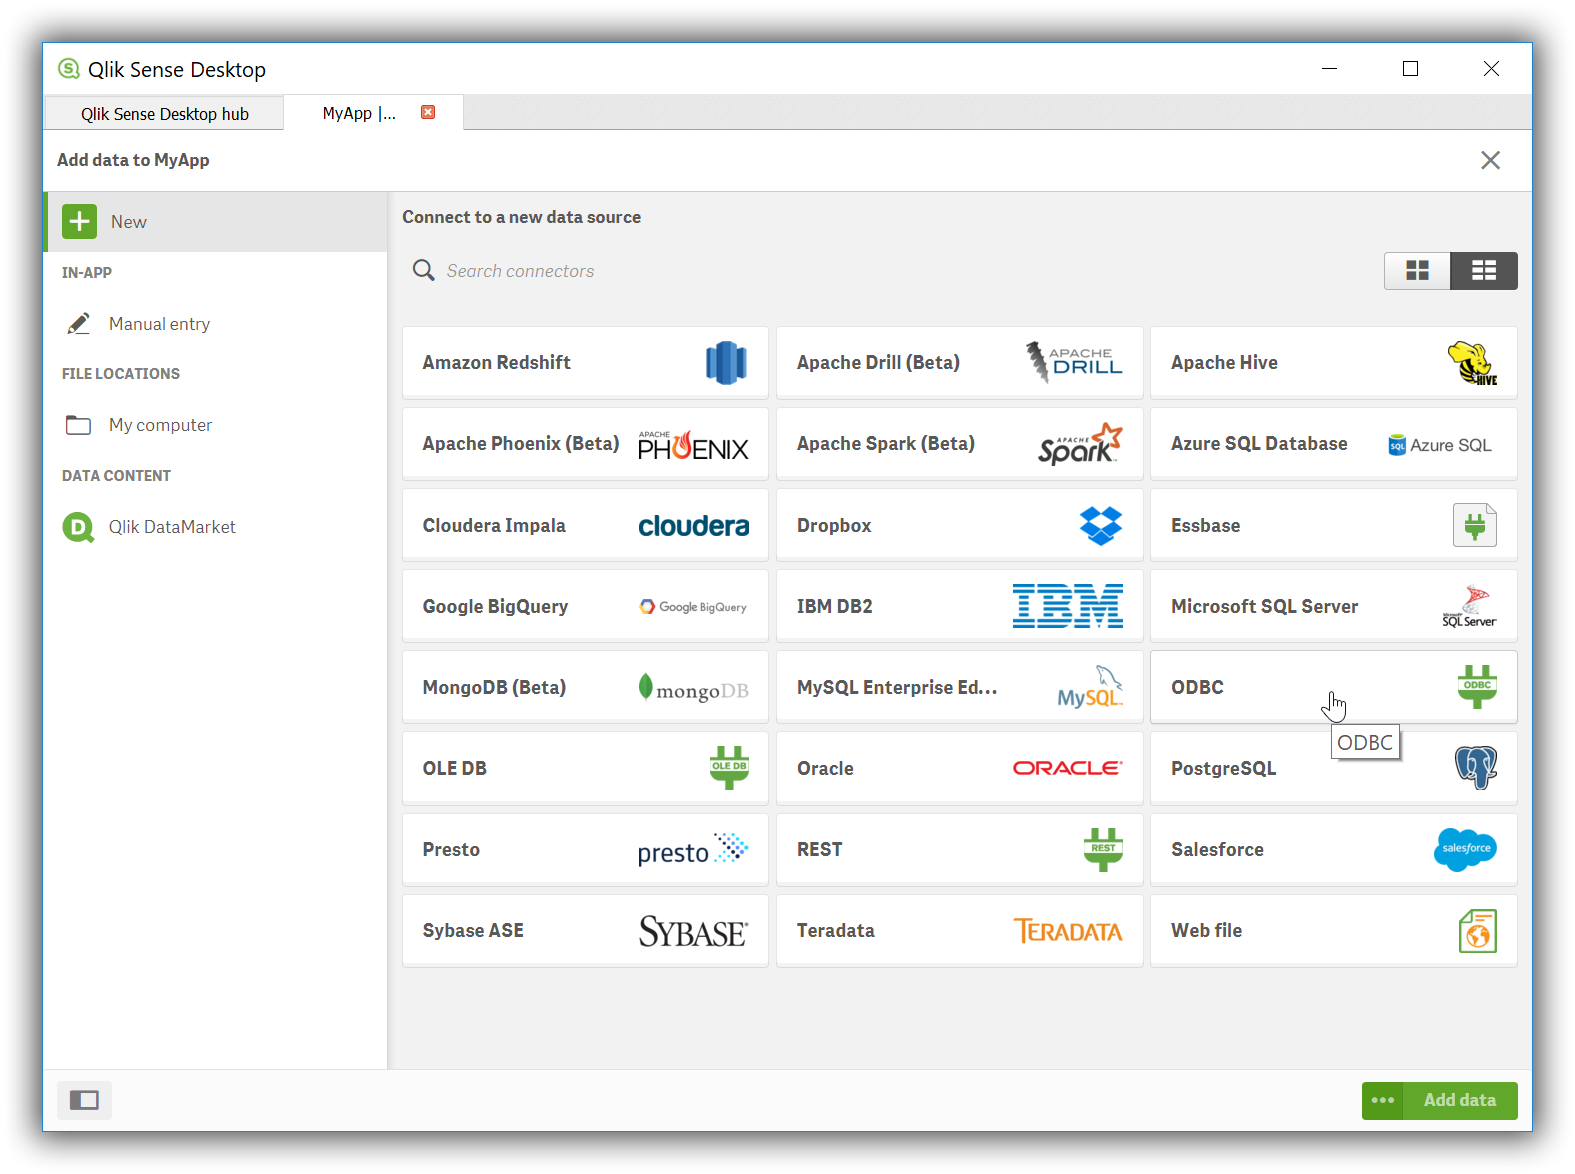
You’ll be given a choice of sources to select. Click on the ODBC icon:
Choose DSN
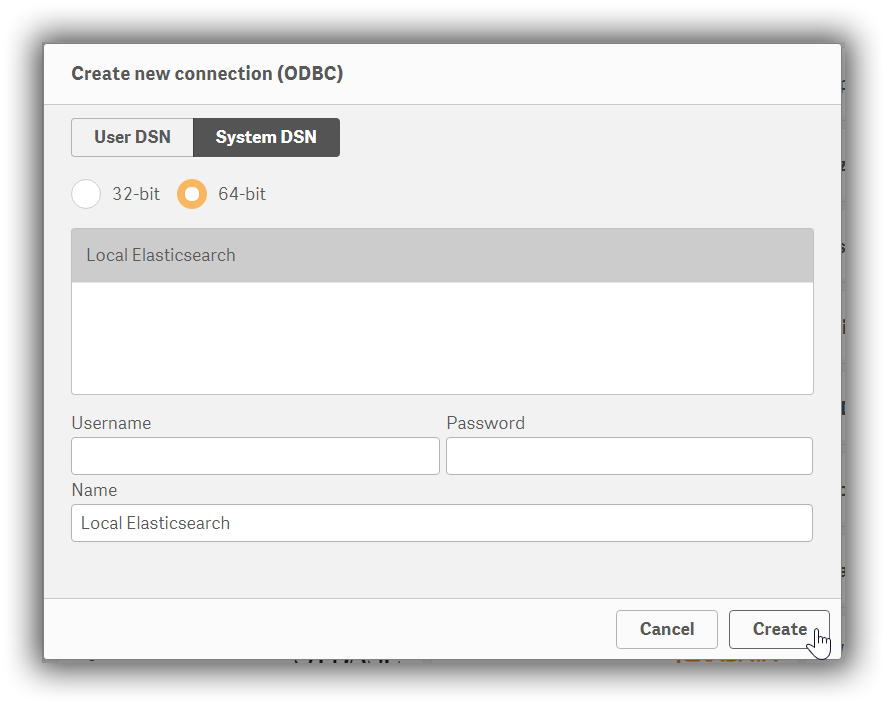
In the Create new connection (ODBC) dialog, click on the DSN name that you have previously configured for your Elasticsearch instance:
Provide a username and password in the respective fields, if authentication is enabled on your instance and if these are not already part of the DSN. Press the Create button.
Select source table
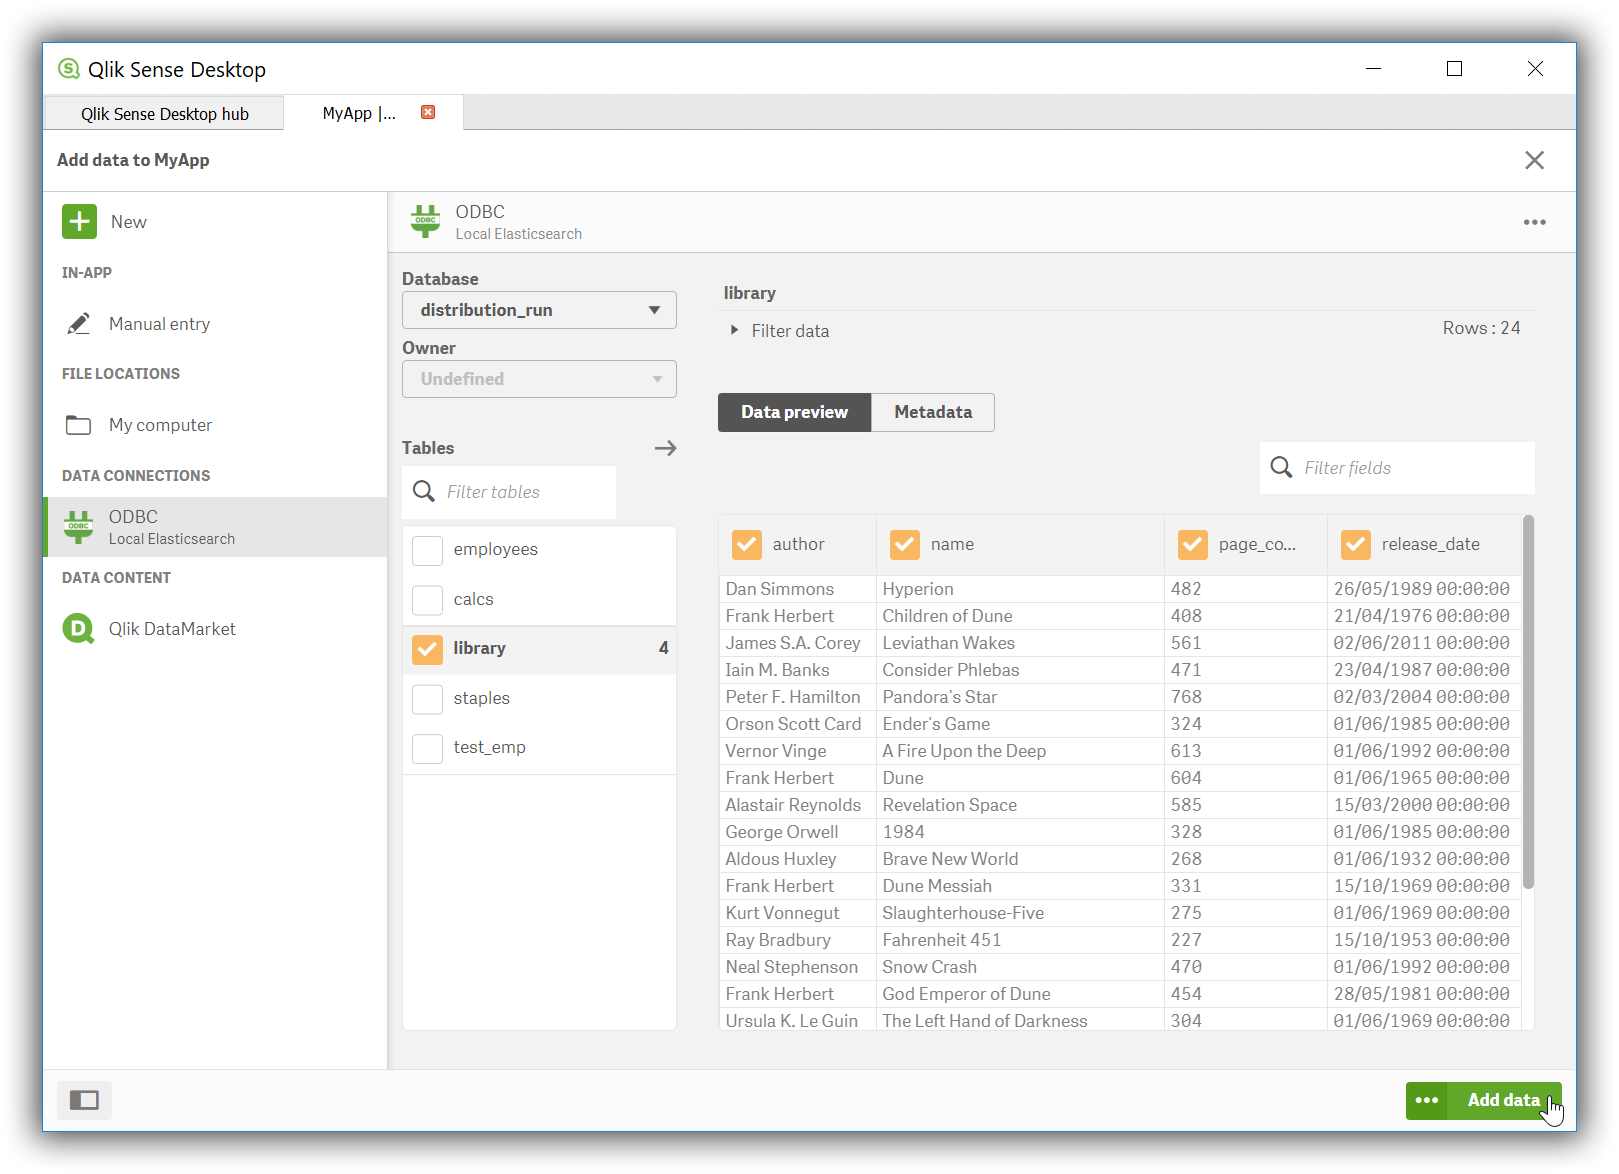
The application will now connect to the Elasticsearch instance and query the catalog information, presenting you with a list of tables that you can load data from:
Visualize the data
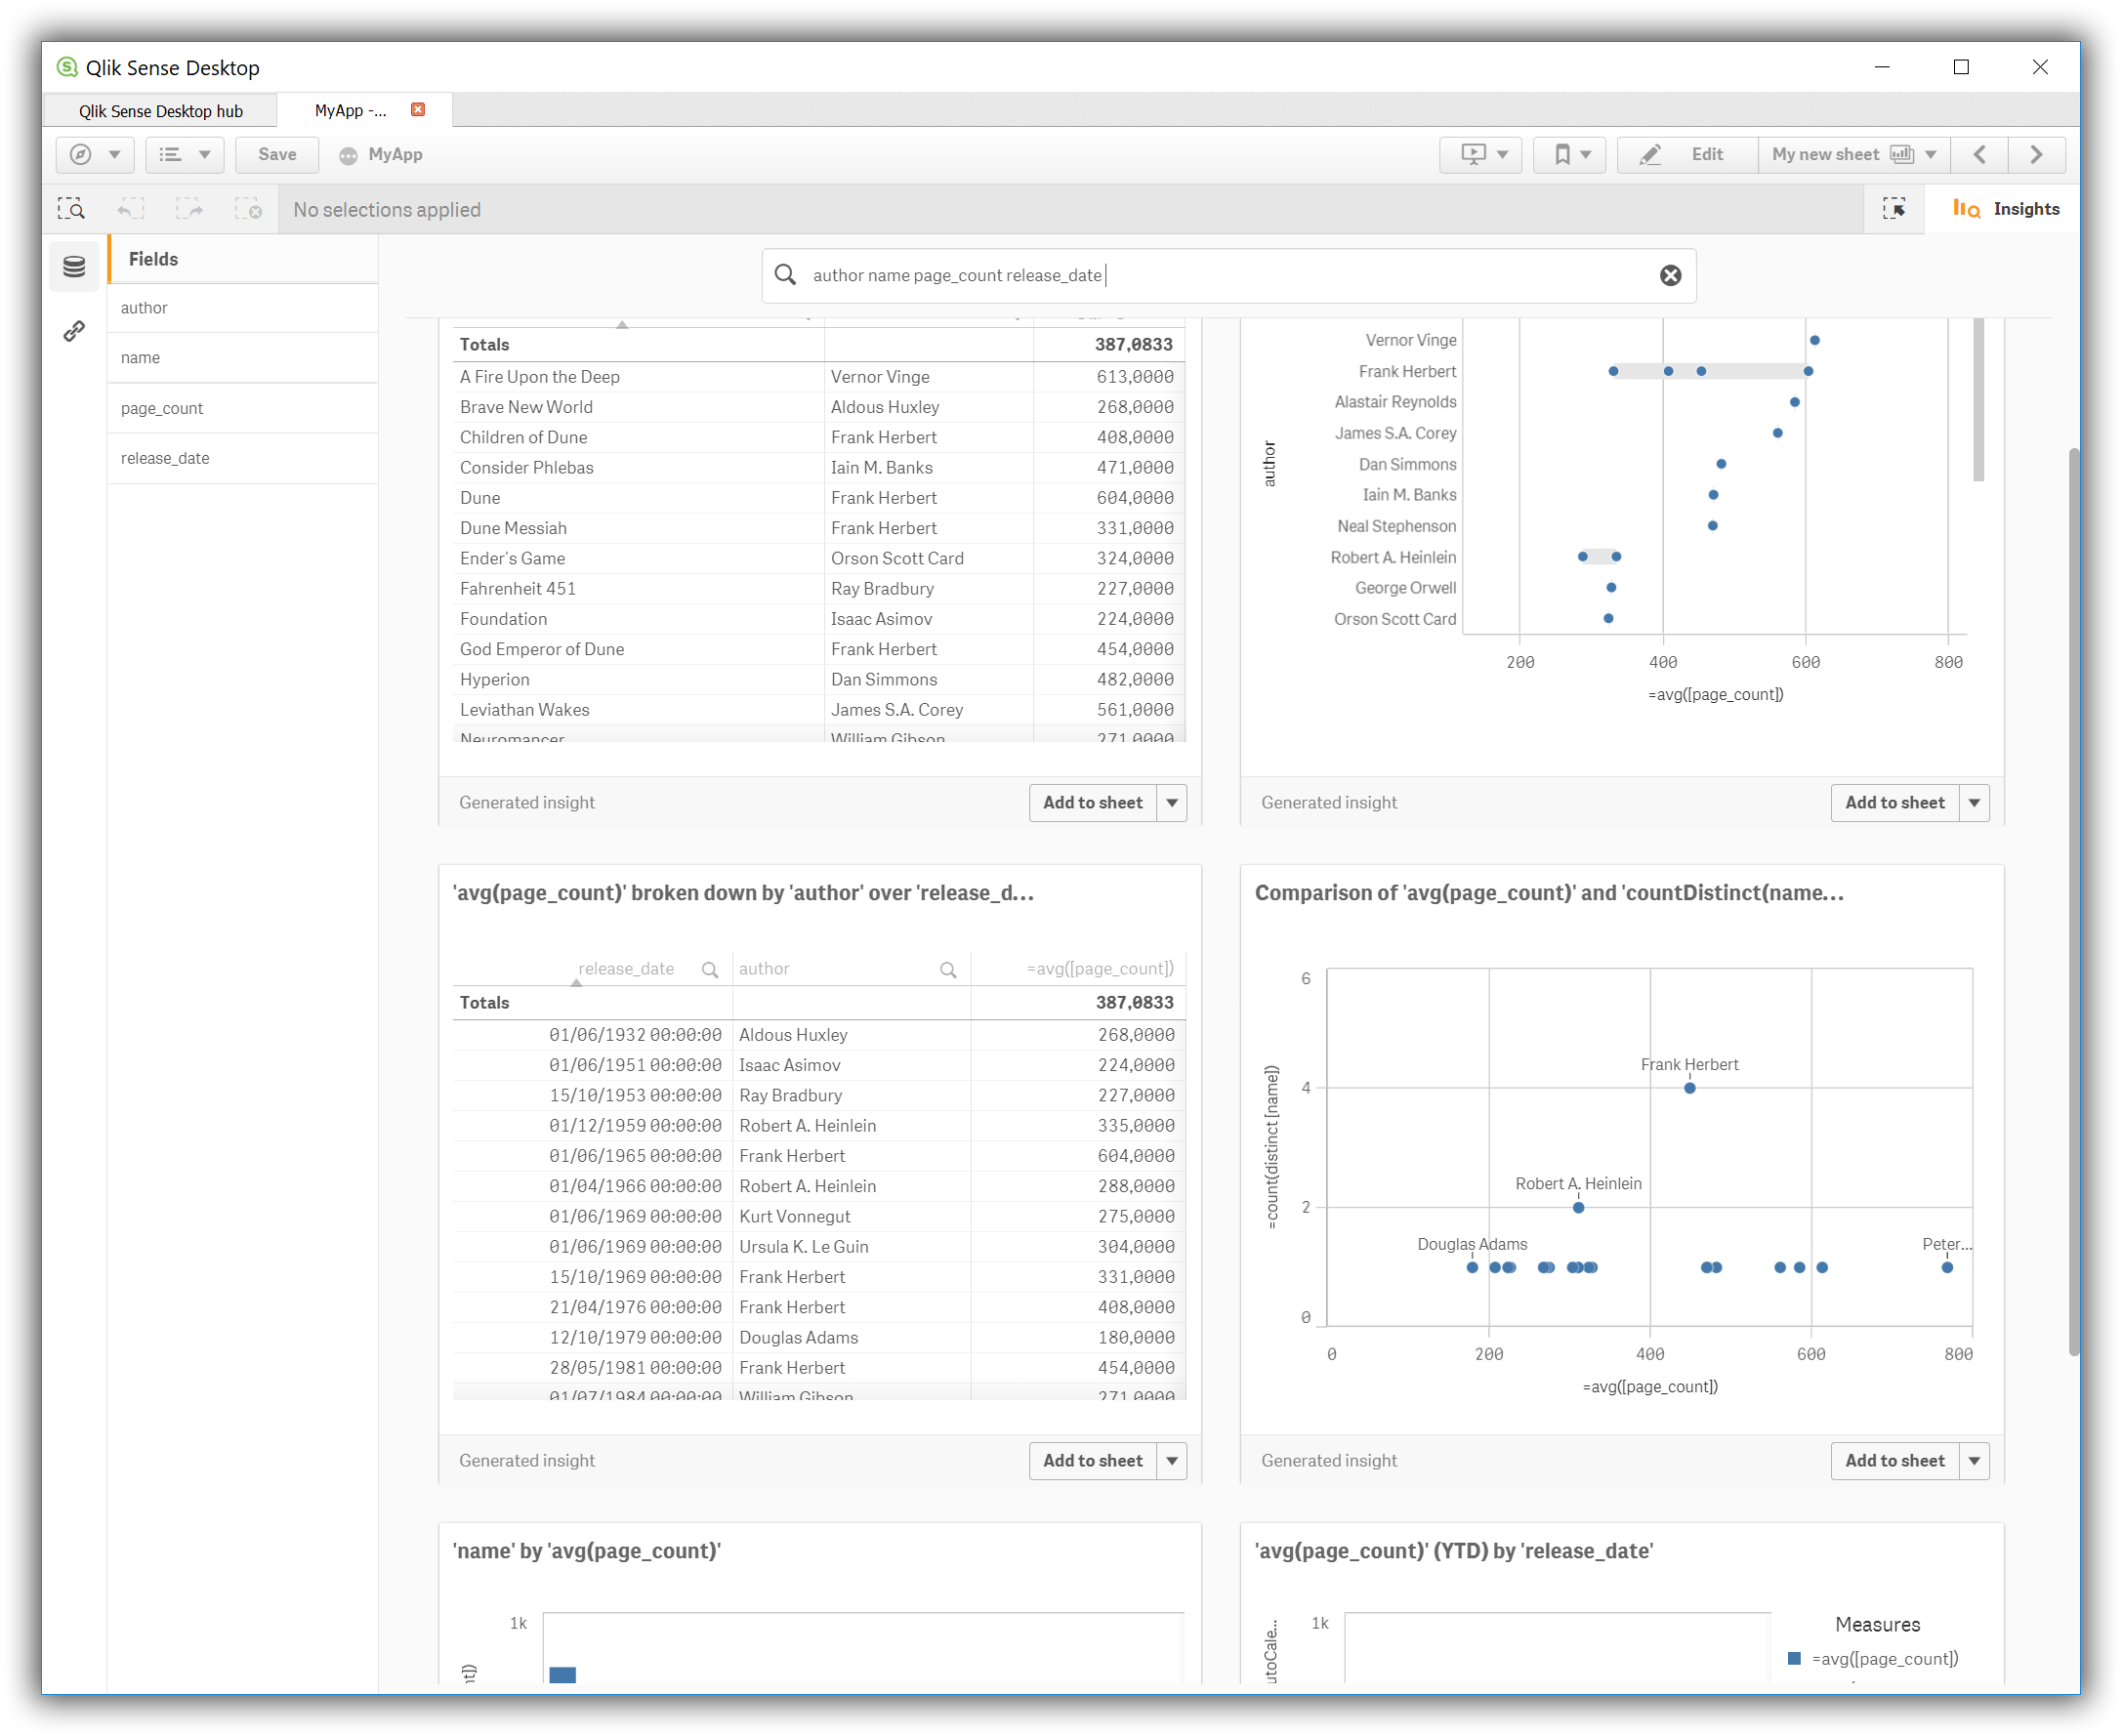
Press on the Add data button and customize your data visualization: